Jar Lid Applique Ornaments
Mason jars are great, but don't forget about Mason jar lid crafts. These seriously adorable Jar Lid Applique Ornaments will look perfect on any kind of Christmas tree. Christmas ornament crafts are a great way to personalize your space and celebrate the holidays. Be sure to save these ornaments so you can reuse them year after year. Since you're using jar lids, you don't have to head to the craft store for expensive supplies. Stay home, use what you have and make creative Christmas ornament that you'll always want to display.
Primary TechniqueGreen Crafting
SeasonWinter

Find this project and many more in our new eBook, 7 DIY Christmas Gifts: Handmade Gift Ideas You'll Love. Filled with lots of great DIY gift-giving ideas, this new printable collection will help you tackle your gift list in no time! Download your own free copy today!
Materials:
- HeatnBond Fusible Fleece (5” square)
- HeatnBond EZ Print Lite Iron-On Adhesive
- HeatnBond EZ Print Transfer Sheets for Light Colored Fabrics
- HeatnBond Pressing Paper
- Wide-mouth canning jar lid
- Fabrics: light background (5″ square), scraps of green and brown
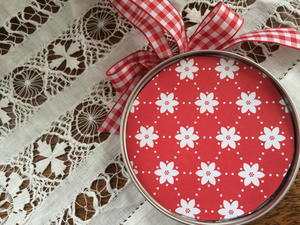
- Red-and-white gingham ribbon
- Thread: black, red-and-white
- Red button
- Heavyweight holiday print cardstock
- Tools: sewing machine, iron, straight pins, sewing needle, computer and inkjet printer, small heavy-duty hole punch, hot glue gun
- Patterns: Trees, Words
Instructions:
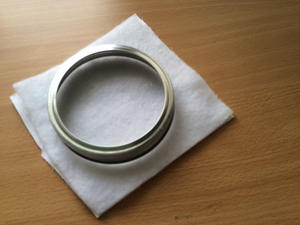
- For each jar lid, cut one 5” Fusible Fleece square and one 5” background fabric square. Use iron to fuse fleece to wrong side of fabric.
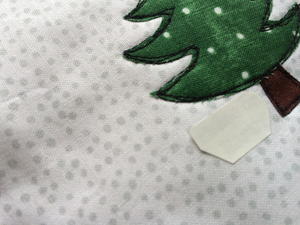
- Print Trees pattern onto paper side of EZ Print Lite sheet. Roughly cut out separate trees and trunks. Place pattern pieces onto wrong side of fabric scraps, adhesive side down, and fuse in place.
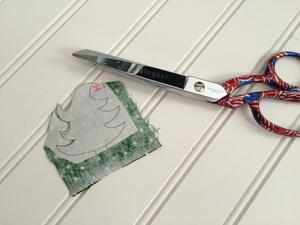
- Cut out pattern pieces on printed lines.
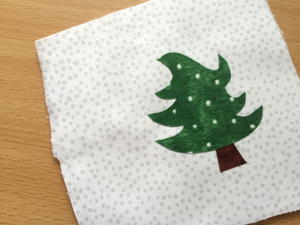
- Peel away paper backing from each appliqué piece and position pieces on center of each fabric/fleece square. Fuse pieces in place.
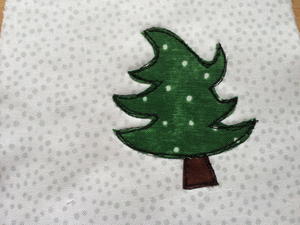
- Top stitch around each trunk and tree three times with black thread. To achieve more freeform, sketch-style effect, do not follow same stitch line each time.
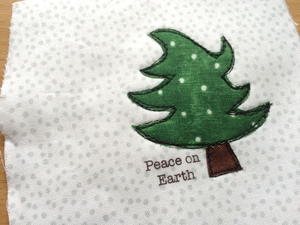
- Print Words pattern in REVERSE onto EZ Print Transfer Sheets. Cut around words and fuse in place near trees, using photos as guides.
- Let cool completely; peel away paper.
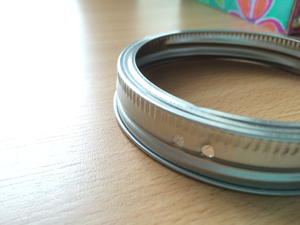
- Punch two holes in canning jar ring.
- Thread ribbon ends through holes and knot inside jar ring. Cut second piece of ribbon and tie a bow. Set bow aside.
- Center tree design and gently push through jar ring. Trim excess fabric and hot glue fabric ends in place.
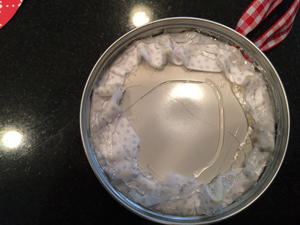
- Glue cardstock circle over back of fabric edges to hide ends. Hot glue bow to cover holes.
- If desired, embellish trees with buttons, sequins, glitter, beads or hand-stitching.


 ENTER TO WIN!
We're giving away a Spectacular Christmas Giveaway to help celebrate the launch of our new eBook, 7 DIY Christmas Gifts. With more than $500 in prizes, this is any craft lover's dream come true! But you better hurry! This giveaway ends November 22nd! Enter today!