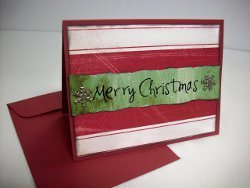
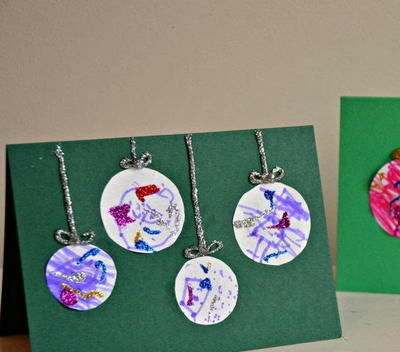
Glitter and Glitz DIY Christmas Card

Make a meaningful statement with this Glitter and Glitz DIY Christmas Card. You can send homemade Christmas cards to anyone you love and show just how much you care. The eye-catching look will surely turn heads. If you want to make homemade Christmas cards but aren't sure how to get started, this is a great project to try. This card doesn't take long to complete and doesn't require a ton of creative expertise, but it looks great and really shines. be sure to tie a pretty bow using white ribbon and add a red gem to finish off the look. It's like a present and handmade Christmas card in one.
Estimated Cost$11-$20
Time to CompleteIn an evening
Main MaterialPaper

Materials:
Spellbinders Supplies:
- S4-434 Holiday Greetings
- Junior Metal Shim
- Spellbinders Grand Calibur Die Cutting and Embossing Machine
Other Supplies:
- Core’dinations ColorCore Cardstock: Glitter Cardstock (Green, Gold, Light Blue, Blue and Red)
- May Arts: White Ribbon
- Scrapbook Adhesive by 3L: Crafty Foam Tape and E-Z Runner Permanent Strip Adhesive
- Want2Scrap: Self-Adhsive Baby Pearls
- White Cardstock
- Red Gem
Instructions:
- Prepare card base 4½ x 5¾” with side fold. Adhere blue glitter cardstock.
- Trim white card stock to 4 x 5¼”. Cut/emboss using Holiday Greetings in Grand Calibur Machine.
- Trim strips of glitter card stock to approximately 1 x 4”. Adhere to underside of white card stock die cut from step 2.
- Trim blue glitter paper to 1 x 4”. Die cut snowflake strip only. Adhere snowflakes with foam tape to card front over top of existing snowflakes, with the points between the ones underneath.
- Tie ribbon, add gem.
- Adhere to card front using foam tape.
- Add pearls to tree tops and snowflake centers.
- Adhere to card front using foam tape.
Your Recently Viewed Projects
Thanks for your comment. Don't forget to share!
SissieSass
Oct 31, 2018
Do you have a size for the baby pearls, or is that how they are sold? I love the way you used the pearls to make the topper for the Christmas trees. They are so pretty. The words breaking up the design is a neat idea to keep the eyes flowing down the card after opening it.
Report Inappropriate Comment
Are you sure you would like to report this comment? It will be flagged for our moderators to take action.
Thank you for taking the time to improve the content on our site.