DIY Holiday Window Airbrushing Tutorial
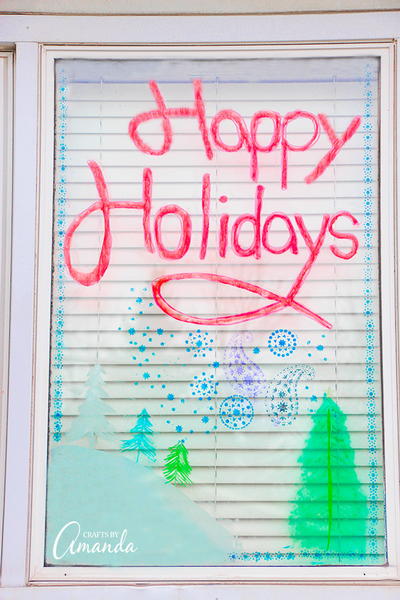
You've decorated the Christmas tree, hung the stockings with care, and have placed an assortment of holiday decorations in every room of your house. If you think your home could use just one more decoration, then this DIY Holiday Window Airbrushing Tutorial is just what you need! The quick and easy holiday craft project is kid-friendly and easy on the budget, too. You'll love sharing messages of seasonal greetings on the windows, as well as pretty pictures featuring bells, mistletoe, and so many more Christmas designs and decorations. Let your creativity shine when you use this easy tutorial that is perfect for the holidays!
Estimated CostUnder $10
Time to CompleteIn an evening
MaterialsOther

Read NextMoose Bitty Bumble
Your Recently Viewed Projects
paver2
Dec 15, 2018
It's incredible that kids did that! And young ones, at that. I remember using that spray "snow" on the windows and it was awful trying to get it off after Christmas, but she says this washes off easily. It would be fun to try
SissieSass
Oct 31, 2018
Can't leave the windows out, can you? I love that you chose to airbrush them because it adds almost a stained glass quality to the design. I love the idea of painting the windows. We used to tape snowflakes up to the windows and let them twist and turn in the light.
Report Inappropriate Comment
Are you sure you would like to report this comment? It will be flagged for our moderators to take action.
Thank you for taking the time to improve the content on our site.

