Retro Ornament Crochet Scrubbies

Looking for Christmas gift ideas for mom? Make these Retro Ornament Crochet Scrubbies that will help make doing dishes a pleasure. these crochet pattern ideas also make great stocking stuffers for anyone who does the kitchen chores. These crochet scrubbies use a special scrubby yarn that can be machine washed and air dried quickly. The fun and bright combination of cherry, bubblegum, and orange colors used for this glass ball ornament-shaped scrubby are reminiscent of the 1970s, which adds an exciting element to these easy crochet projects.
Time to CompleteUnder an hour
MaterialsYarn

Materials List
- 1 ball of RED HEART Scrubby™: 258 Orange A
- 1 ball of RED HEART Scrubby™: 709 Bubblegum B
- 1 ball of RED HEART Scrubby™: 905 Cherry C
- Susan Bates brand Crochet Hook: 4mm [US G-6]
- Yarn needle
Special Stitches, Techniques, and Color Sequence:
Special Stitches:
Cl (2 treble crochet cluster) = *[Yarn over] twice, insert hook in indicated stitch, yarn over and draw up a loop, [yarn over and draw through 2 loops on hook] twice; repeat from * once more, yarn over and draw through all 3 loops on hook.
Bpdc (back post double crochet) = Yarn over, insert hook from back side of work to front and to back again around the post of indicated stitch; yarn over and pull up a loop (3 loops on hook), [yarn over and draw through 2 loops on hook] twice. Skip the stitch "in front of" the Bpdc.
Special Technique:
Join with Bpdc (join with back post double crochet) = Place slip knot on hook, yarn over, insert hook from back side of work to front and to back again around the post of indicated stitch; yarn over and pull up a loop (3 loops on hook), [yarn over and draw through 2 loops on hook] twice. Skip the stitch “in front of” the Bpdc.
Color Sequences:
Ornament #1 = Work 1 round each with A, B, A, C, C, and B.
Ornament #2 = Work 1 round each with C, A, C, B, A, and C.
Directions for Ornament:
Make 2 – 1 in each color sequence. With first color, ch 4; join with slip st in first ch to form a ring.
-
Round 1 (right side): Ch 3 (counts as first dc), work 11 more dc in ring changing to 2nd color in last dc; join with slip st in 3rd ch of beginning ch-3—12 dc.
-
Round 2: Ch 3 (counts as first hdc, ch 1), hdc in next st, [ch 1, hdc in next st] 10 times, ch 1 and change to 3rd color; join with slip st in 2nd ch of beginning ch-3—12 hdc and 12 ch-1 spaces.
-
Round 3: Ch 2 (counts as first hdc), 2hdc in next ch-1 space, [hdc in next st, 2 hdc in next ch-1 space] 11 times changing to 4th color in last hdc; join with slip st in 2nd ch of beginning ch-2—36 hdc.
-
Round 4: Ch 3, dc in same st as joining, dc in next 2 sts, [2 dc in next st, dc in next 2 sts] 11 times, do not change color; join with slip st in 3rd ch of beginning ch-3—48 dc. Fasten off.
-
Round 5: With right side facing, join 5th color with Bpdc around any st, Bpdc around each remaining st and change to 6th color in last st; join with slip st in top of first Bpdc—48 Bpdc.
-
Round 6: Ch 2 (counts as hdc), hdc in same st as joining, hdc in next st, [2 hdc in next st, hdc in next st] 10 times, dc in next st, tr in next st, Cl in each of next 2 sts, tr in next st, dc in next st, [2 hdc in next st, hdc in next st] 10 times; join with slip st in 2nd ch of beginning ch—69 sts. Do not fasten off.
-
Hanging Loop: Ch 12, slip st in same st as joining. Fasten off.
-
Finish by weaving in the ends.
Abbreviations
- A, B, and C
- color A, Color B, and Color C
- ch
- chain
- dc
- double crochet
- hdc
- half double crochet
- st(s)
- stitch(es)
- [ ]
- work directions in brackets the number of times specified
NotesNotes:
GAUGE: Gauge is not critical for
this project.
-Scrubby is worked in joined rounds, with same side facing at all times. Do not turn at the end of rounds.
-Yarn quantities are sufficient to make both ornaments.
-To change color, work last stitch of old color to last yarn over. Yarn over with new color and draw through all loops on hook to complete the stitch. Proceed with new color. Cut old color.
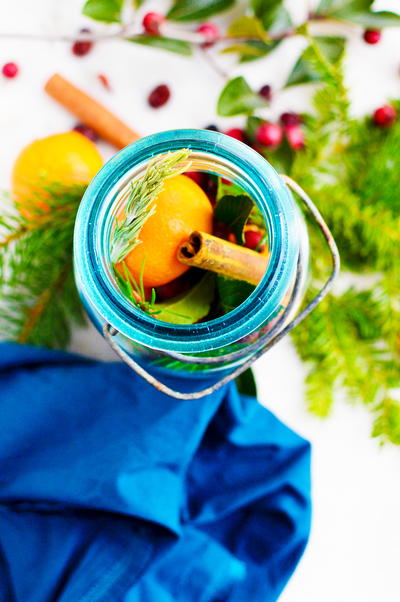
Read NextDIY Christmas Potpourri In A Jar