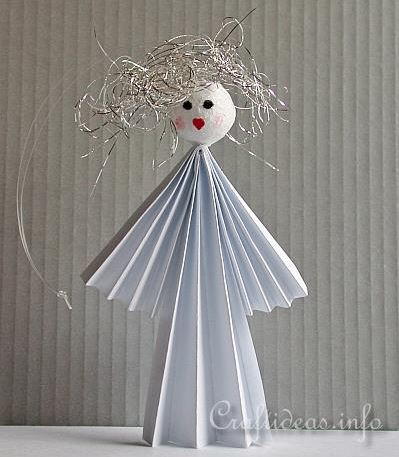
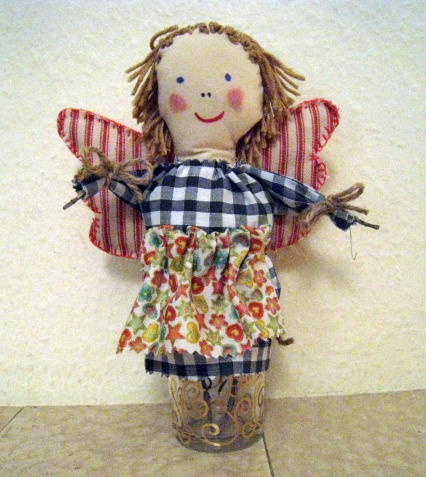
Oh Holy Night Christmas Angel

Upcycle an empty toilet paper roll into a sweet little angel for Christmas. This angel’s clothes are white and silver, but the color combination can easily be adjusted, just by changing the color of the tissue paper used. The craft is easy enough for older kids to make their own angels. It delivers a pleasing end result without costing too much as far as craft material goes. This is a great project to complete before the Christmas season starts. Making decorations early can really help take much of the stress out of the Christmas season.
Estimated Cost$11-$20
Time to CompleteIn an evening

HolidayChristmas
Age GroupPre-Teens, Teens
Project TypeMake a Project
Materials List
-
empty toilet paper roll
-
polystyrene ball with a diameter of 55mm
-
white tissue paper
-
curly brown synthetic doll hair
-
pair of 8mm wiggle eyes
-
standard white paper plate for the wings
-
A5 size piece of white printer paper
-
string of small silver plastic beads
-
two silver-and-pearl buttons
-
4” of thin green florist wire (24 or 26 gauge will work the best)
-
flesh acrylic paint
-
polystyrene glue
-
quick-drying craft glue (such as Bostik Clear)
-
Pentel ultra fine black pen
-
Pilot silver marker pen
-
red felt-tip pen
-
paintbrush
-
standard scissors
-
pliers
Instructions
-
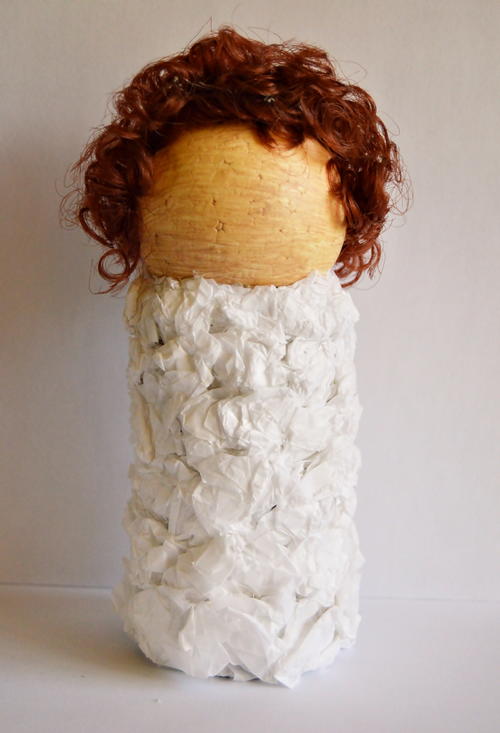
Use polystyrene glue to affix the ball to the one end of the toilet paper roll and allow to dry overnight.
-
Paint the polystyrene ball with the flesh paint and allow to dry.
-
Make the angel’s dress:
Cut the tissue paper into 3” sized squares. Take a square and crumple it up. Use Bostik Clear to affix it to the toilet paper roll. Continue adding crumpled pieces of toilet paper roll until the whole roll has been covered.
-
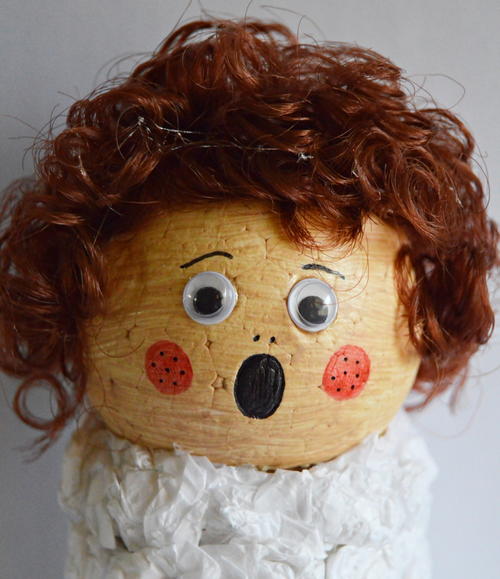
Glue the hair in place and use the scissors to shape her hair neatly.
-
Glue the wiggle eyes in place. Use the black pen to add a singing mouth, nostrils and eyebrows, and use the red pen to add rosy cheeks. Use the black pen again to add a few freckles to her rosy cheeks.
-
Use Bostik Clear to glue the two buttons to the front of her dress.
-
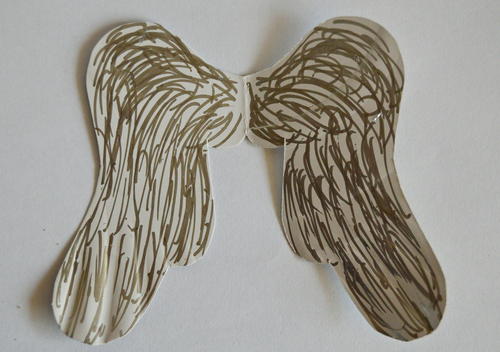
Fold the paper plate in half and cut two wings from the plate. Use the silver pen to add detail to the wings. Use Bostik Clear to glue the wings in place.
-
Use the pliers and cut the piece of florist wire in half ~ each half will have a length of 2.” Bend each half to make two small wire hooks.
-
Cut a short strip from the silver plastic beads ~ the strip should be long enough to fit on her head as if she is wearing a headband. Glue the strip to her head. Use a wire hook at each end to secure the headband.
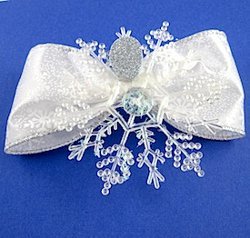
Read NextBeautiful Snowflake Angel
Your Recently Viewed Projects
Thanks for your comment. Don't forget to share!
SissieSass
Mar 30, 2018
Do you think that I could use white printer paper to wrap around the toilet paper roll? I am not sure I like the textured look that you get with the tissue paper. I love your design. I think your angel is so sweet and beautiful. She has just the right face to make everyone laugh.
Report Inappropriate Comment
Are you sure you would like to report this comment? It will be flagged for our moderators to take action.
Thank you for taking the time to improve the content on our site.