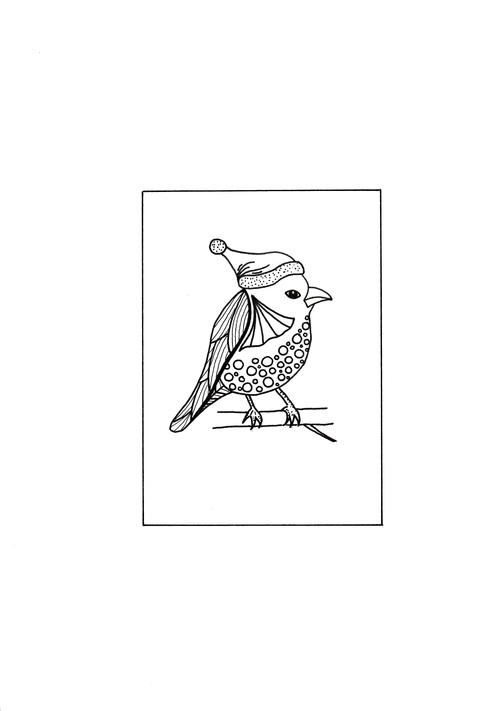
Santa's Little Messenger Christmas Card

Santa’s elves are busy making toys, so Santa sent out his feathered friends to spread early Christmas cheer. Grab your coloring tools and help this little messenger to get some color on his feathers before he starts chirping away. This is a nice Christmas card project to work on earlier in the year and get your cards ready before the hustle and bustle of the season are upon you.
Estimated CostUnder $10
Time to CompleteIn an evening

HolidayChristmas
Age GroupElementary School
Materials List
- a copy of the provided adult coloring design
- 8.2”x 6” light blue marbled cardstock
- 10mm wide light blue washi tape
- 10mm dark blue washi tape
- eleven 10mm clear flat-sided rhinestones
- tablespoon of salt
- Staedtler 12-color watercolor set
- 24-color set of Marco Raffine watercolor pencils
- 12-color set of Faber Castell watercolor pencils
- Pilot extra fine silver marker pen
- Pilot extra fine white marker pen
- quick-drying craft glue (such as Bostik Clear)
- standard scissors
- pencil
- ruler
Instructions for making the project:
-
Click here to download a copy of the design. Print the adult coloring design onto a sheet of white A4 paper. You can use ordinary printer paper, but if you are planning on using watercolor paint and pencils, like in the example, you might need to use cardstock or paper with a medium weight.
-
Use the purple, pink and sky blue watercolors from the Staedtler 12-color watercolor set to color the background. While the paint is still wet, add some fine table salt to the wet paint ~ this will cause the colors to flow into one another, creating a softer end result. Wait for the paint to dry and then lightly rub over the salt with your finger to remove the salt.
-
Use the watercolor pencils to color the mini adult coloring page.
-
Use the Pilot silver pen to add silver squiggles to the background. Use the Pilot white pen to add highlights to the bird and the tree branch. Use black and blue pencils to add shadows to the bird and branch. Cut out once completed.
-
Score the 8.2”x 6” light blue marbled cardstock to create a card sized 6” x 4.1”.
-
With the fold at the left, center and glue the colored design to the front of the card.
-
Glue a strip of light blue washi tape, followed by a strip of dark blue tape that overlaps with the light blue tape, on the left side of the card. Cut off any protruding edges.
-
Glue the rhinestones in place.
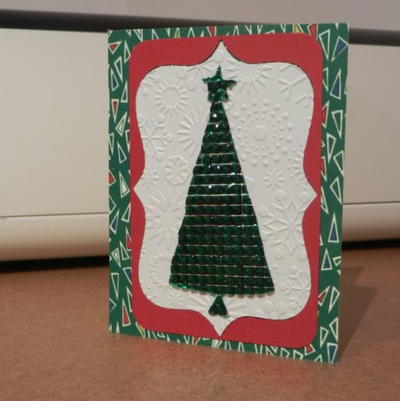
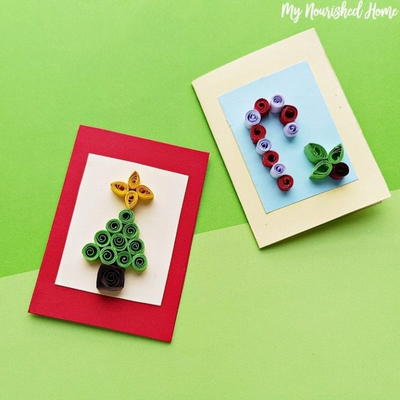
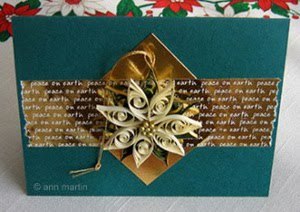
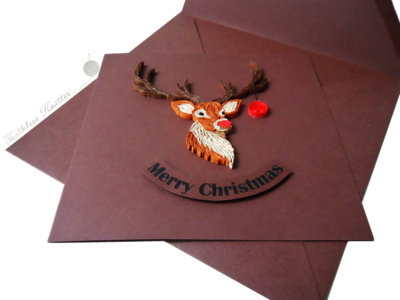
Read NextQuilled Christmas Card Craft
Your Recently Viewed Projects
Thanks for your comment. Don't forget to share!
SissieSass
Oct 31, 2018
What a fun card to send to little ones in the family, am I right? I can see little ones opening this card and thinking that this little birdie is the one who is watching from afar to make sure the he or she behaves until Santa visits and brings lots of goodies.
Report Inappropriate Comment
Are you sure you would like to report this comment? It will be flagged for our moderators to take action.
Thank you for taking the time to improve the content on our site.