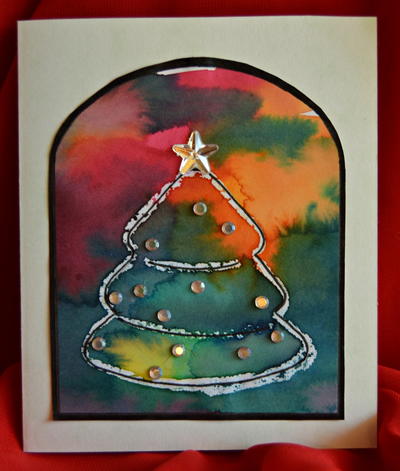
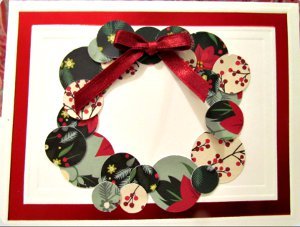
Traditional Noel DIY Christmas Card

DIY Christmas cards are a great way to spread holiday cheer. This Traditional Noel DIY Christmas Card will mean so much to the recipient and will signify peace and goodwill during the holiday season. Though the red and green cardstock colors are in line with the season, the overall design is cool and unexpected. Plus, you can adhere rhinestones to the front of the card for a sparkly finish. Send this card to a family member or friend and be sure to include a thoughtful message. Handmade Christmas cards always manage to find a spot on a fridge or mantel and are often saved for years to come.
Estimated Cost$21-$30
Time to CompleteIn an evening
Main MaterialPaper

Spellbinders Supplies:
- S4-434 Holiday Greetings
- T-001 Tool 'n One
- Spellbinders Grand Calibur Die Cutting and Embossing Machine
Other Supplies:
- Scrapbook Adhesives by 3L: Crafty Foam Tape and E-Z Runner Permanent Strips
- Want2Scrap: Baby Gems
- Worldwin Papers: Mocha and Beach Cardstock
- Sequins
- Red and Green Cardstock
- Liquid Adhesive
Instructions:
- Prepare A2 (4¼ x 5½”) size card base from Mocha cardstock with top fold.
- Trim red cardstock slightly smaller. Adhere.
- Trim Beach card stock to 2½ x 4½”. Place onto Holiday Greetings die template covering only the NOEL and tree portion. Hold in place with low tack tape. Cut/emboss in Grand Calibur Machine.
- Gently remove from die template using Tool ‘n One. Trim tree portion to create a strip. Matt with green card stock. Adhere across card base using Craft Foam Tape.
- Adhere NOEL to bottom right side of card using liquid adhesive.
- Adhere gems and sequins.
Read NextStash Busting Christmas Card
Your Recently Viewed Projects
Thanks for your comment. Don't forget to share!
SissieSass
Oct 31, 2018
What better way to share your creativity and use traditional holiday items, right? I love that your card has the red and green that everyone loves during Christmas time. I want to make a ton of these to hand out at work and mail to family members. They are so pretty and fun to make.
Report Inappropriate Comment
Are you sure you would like to report this comment? It will be flagged for our moderators to take action.
Thank you for taking the time to improve the content on our site.