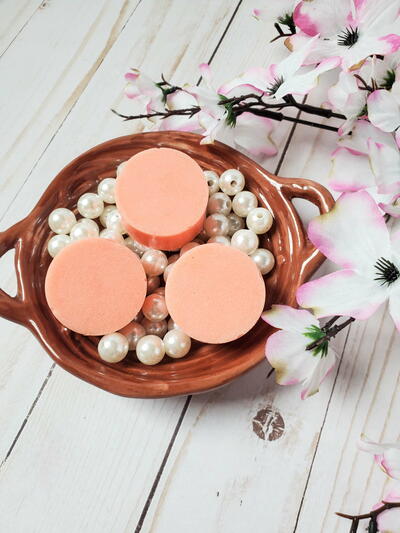
Painted Cinnamon Christmas Ornaments
Cinnamon smells in air is a sign that the Christmas season is soon approaching, and you can add this scent to your home with these creative Painted Cinnamon Christmas Ornaments. Cinnamon Christmas ornaments are a staple of the season, and these will stand out with their nifty painted decor. This easy-to-follow tutorial shows you how to make homemade Christmas ornaments and allows you to add your own creative spin by letting you choose what to paint. Enjoy the sight and smell of these DIY ornaments this Christmas.

Materials:
- Tulip® Dimensional Fabric Paint Leaf Green
- Tulip® Dimensional Fabric Paint White
- 2 tbsp of Aleene's® Original Tacky Glue®
- Tulip® Glam-It-Up!™ AB Crystal Iron-On Crystals™
- 1 tablespoon nutmeg
- Wire Rack
- Scissors
- Bowl
- Plastic Food Wrap
- Wax Paper
- 1 cup of Cinnamon
- Cookie Cutters
- Ribbon, to Hang Ornaments
- Measuring Spoons
- Measuring Cup
- 1 tablespoon cloves
- Paper Towels
- Rolling Pin
- Drinking Straw
- 3/4 cup of applesauce, drained
Instructions:
-
Combine cinnamon, cloves and nutmeg. Add applesauce and glue. Mix well with hands until mixture is smooth and well combined.
-
Place wax paper down onto work surface.
-
Roll one quarter of dough between two pieces of wax paper until about ¼” thick.
-
Cut into desired shapes with cookie cutters, etc.
-
Cut holes for hanging using straw or similar object.
-
Dry on wire rack for several days, turning daily to keep from curling. Option - dry in a 250 degree F oven until hard.
-
For stones, squeeze out a dot of Tulip® 3D Fashion Paint slightly smaller than size of stone. Place stone into paint and gently press so paint comes up and around stone.
-
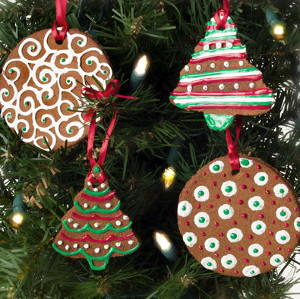
Refer to photo when decorating ornaments. Start flow of paint on a paper towel, applying an even pressure on bottle for a smooth line. Create polka dots or lines using different colors. Let dry completely.
- Cut ribbon to desired length. Run through hole and knot at end of ribbon.
Read NextPatchwork Star Ornaments