How to Store Christmas Lights
Storing Christmas lights tips and ideas for after the holidays.

We all know the struggle of untangling Christmas lights. Once that string of lights gets tangled, you’ll be spending the next few hours trying to undo the damage. However, there are a few solution to prevent this next Christmas. With How to Store Christmas Lights, we will show you some of the best ways to remove and store your lights so that they can be put away in an organized manner and easy to remove once it’s time to set them up again next year. After all, lights are an integral part of your DIY Christmas decorations.
If you’re looking for the best way to store Christmas lights once Christmas is over, then this will be an invaluable resource for you. Depending on your storage space, the type of string lights you are using, and your personal preference or available supplies, one idea may work better for you than others. Since there are a few different options for DIY Christmas light storage, you are sure to find something that will forever change the way you store your decorations during the off-season. Fortunately, all of these ideas are simple and inexpensive by using the materials you already have.
Estimated CostUnder $10
Time to CompleteUnder an hour

Materials List
- Piece of cardboard
- Box cutter
- Ruler
- Tissue paper (or newspaper or bubble wrap)
How to Store Christmas Lights Using Cardboard:
This is one of the easiest Christmas light storage ideas. It will keep your decorations organized. Most of us have a scrap piece of cardboard or can get one without hassle. A box cutter is used to make the notches, but any sharp blade should work as well. With this method, your lights will remain untangled and easy to remove when they are needed again.
-
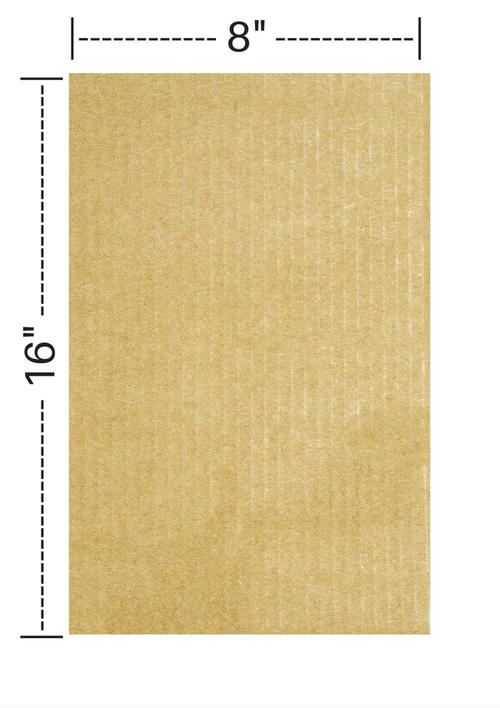
Cut a rectangle from a medium thick piece of cardboard, roughly 8 x 16 inches. A piece cut from a cardboard box works well. Note that you may need to alter the size of your rectangle depending on the string light length.
-
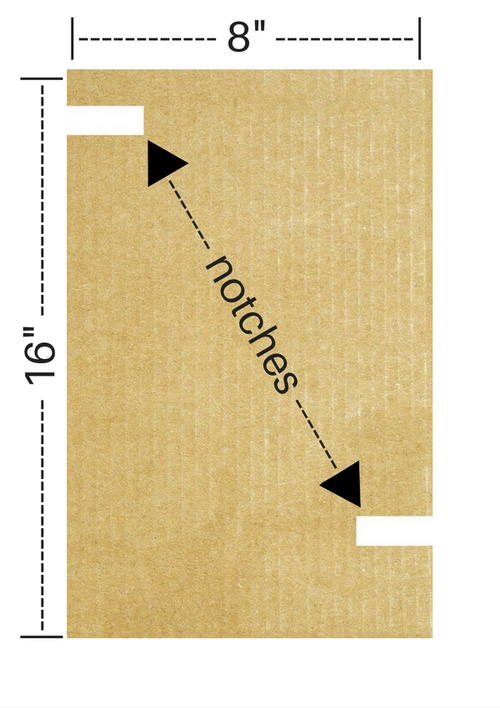
With the cardboard rectangle upright, cut one thin notch a few inches down on the left side. Do the same on the bottom right, similar to what is shown. These notches will hold each plug end of the light string, so use your best judgment about the size of these notches (roughly 1/2-inch by 1 inch each or smaller if you want it snug against the string).
-
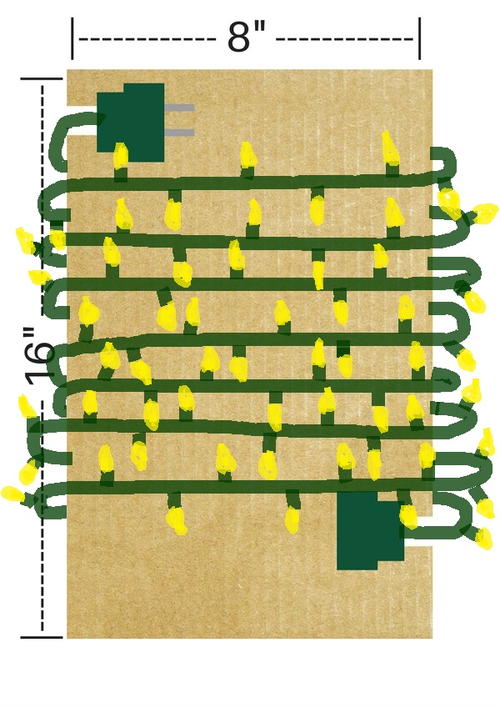
Slide one plug end into the notch and hold it there. Start wrapping the string around the board, as shown in the illustration below.
-
Continue this process until you reach the bottom notch. You may need to adjust the light strings as you go, depending on how much room you have left on the board. See rough illustration below.
-
Optional: You can do a "test run" of your lights and add extra notches every 1/2-inch or inch so get a more exact and organized wrapping job.
-
After your lights are completely wrapped around the board, cover the entire thing with tissue paper (or newspaper – for extra protection, use bubble wrap) to protect the lights.
-
Label and store the light-wrapped board in a box with extra padding or on its own in a protected area. Do not place anything on top of your board or store it in a place where it could get smashed.

How do you store your Christmas lights?
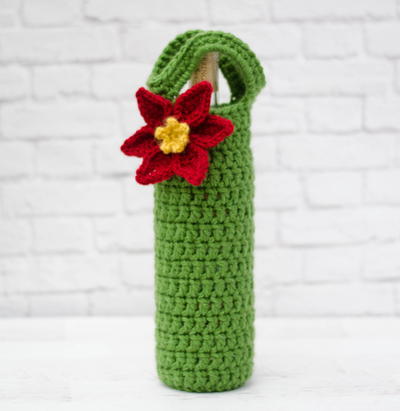
Read NextPoinsettia Wine Cozy
Your Recently Viewed Projects

Thanks for your comment. Don't forget to share!
SissieSass
Mar 31, 2018
Do you put all your lights in the same container, or do you put them in several by area or tree? I know some people use a ton of outdoor lights, so finding a good way to store them and check them is always helpful. You never know what will or won't work after a year has passed.
Report Inappropriate Comment
Are you sure you would like to report this comment? It will be flagged for our moderators to take action.
Thank you for taking the time to improve the content on our site.