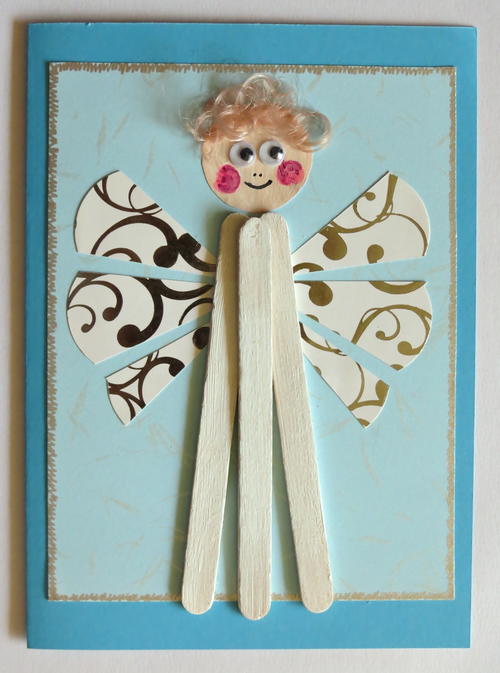
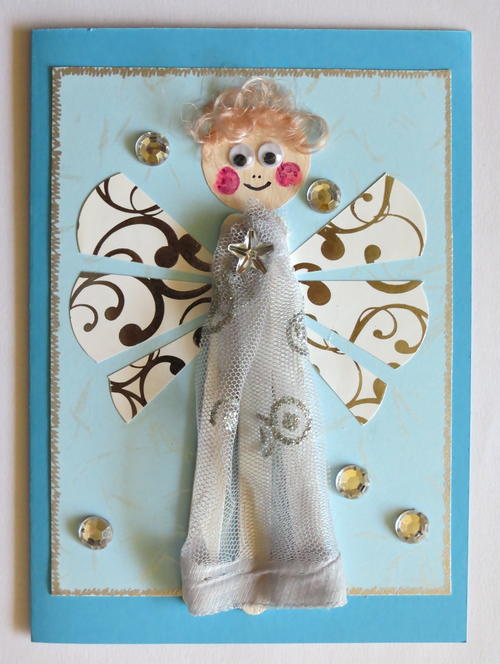
Angel of Light Christmas Card
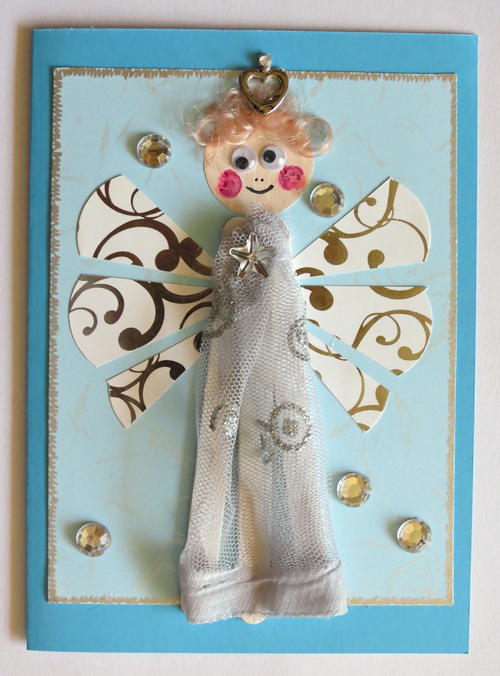
Make this Angel of Light Christmas Card, with a shining angel on the front to spread some cheer during the Christmas season. To make this Christmas craft, you will need a few interesting materials, but, if you're a crafter, there's a good chance you already have them in your home. Use soft hues of blue and silver to add radiance to this angel of light. This ice cream stick craft is easy to make, but the angel is sure to leave a lasting impression on the card's recipient.
Estimated CostUnder $10
Time to CompleteUnder an hour
MaterialsRecycled Materials

Materials List
- 7" x 10" blue cardstock
- 6.4" x 4.4" blue-and-silver cardstock
- One white-and-silver cupcake wrapper with a scallop edge
- Leftover piece of white printer paper
- Three 4.4" long straight flat wooden ice cream stick
- 4.4" square cut from soft silver net fabric
- Pair of 8mm wiggle eyes
- Curly blonde synthetic doll hair
- One 6mm silver star-shaped rhinestone
- Five 10mm clear self-adhesive flat-sided rhinestones
- 0.5" high silver resin heart pendant
- Artline 210 Fineliner black pen
- Pilot silver marker pen
- Maroon felt-tip pen
- Acrylic paint in the following colors: white and flesh
- Paintbrush
- Needle and thread
- Pencil
- Ruler
- Standard scissors
- Quick-drying craft glue (such as Bostik Clear)
Instructions:
Paint the three ice cream sticks with the white paint and allow to dry thoroughly.
-
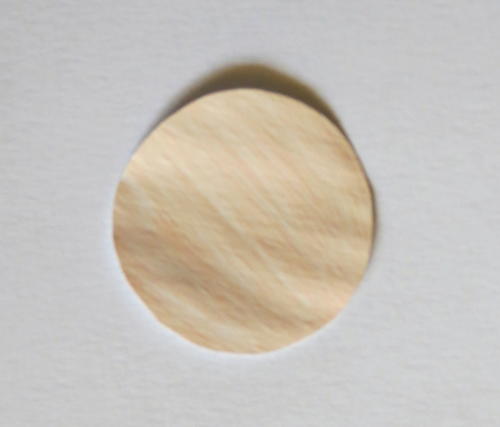
Draw a circle with a diameter of 1.1" onto the piece of printer paper. Paint it with the flesh paint and allow to dry thoroughly before cutting it out.
-
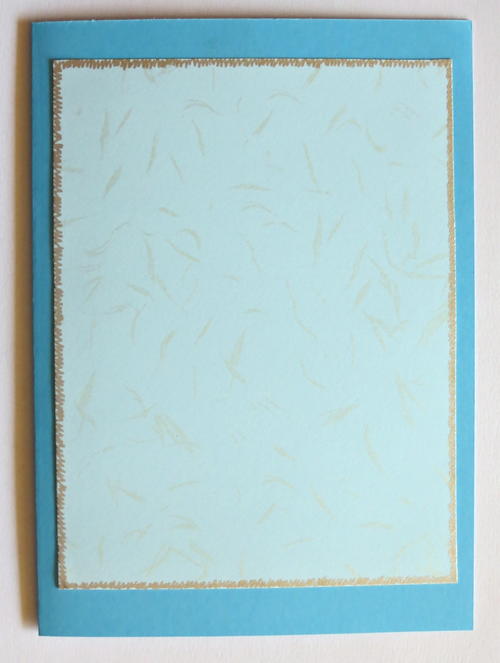
Use the silver pen to draw "zig-zag stitches" all around the blue-and-silver cardstock.
-
Score the blue cardstock to make a card sized 7" x 5".
-
With the fold at the left, center and glue the blue-and-silver cardstock to the front of the card.
-
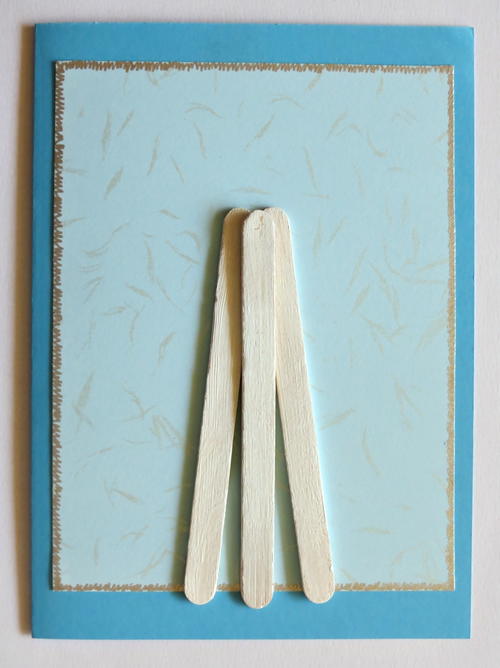
Glue the three ice cream sticks to the front of the card to make the angel’s body.
-
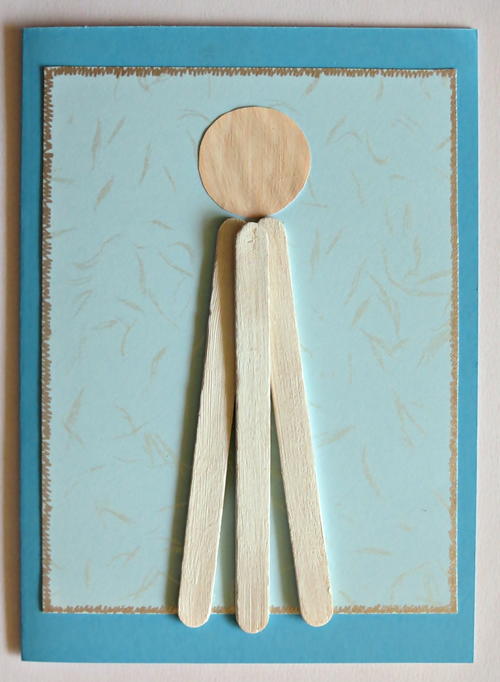
Glue the flesh circle to the card to make the angel’s face.
-
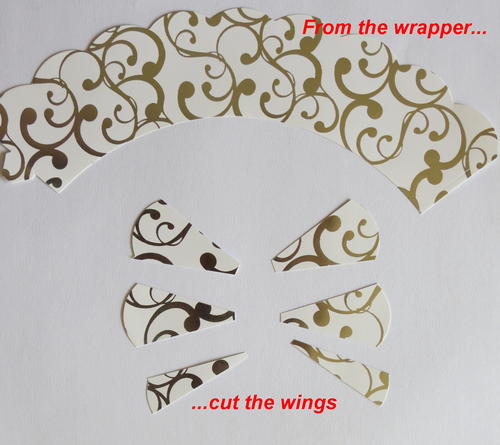
Cut the wings from the cupcake wrapper and glue them to the card.
-
Glue the wiggle eyes and hair in place. Use the scissors to shape her hair neatly.
-
Use the black pen to add nostrils and a mouth, and use the maroon pen to add rosy cheeks.
-
Thread one of the sides of the net fabric with a tacking stitch and gather the frills together, before ending it with a secure knot. Glue the net fabric on top of the ice cream sticks.
-
Use the star shaped rhinestone to add a button to the front of the silver dress.
-
Glue the five rhinestones in random places to the card.
-
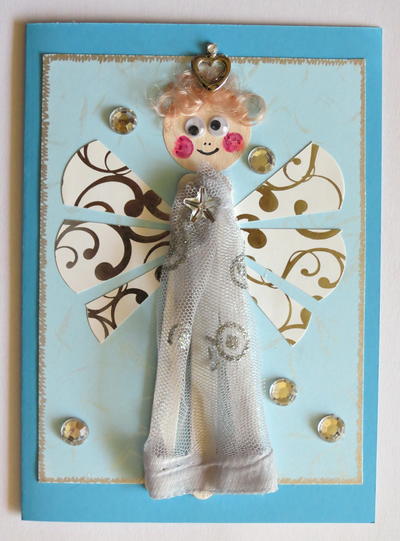
Glue the resin heart to top of her head to make a crown.
Your Recently Viewed Projects
Thanks for your comment. Don't forget to share!
SissieSass
Oct 31, 2018
Who would not want to open up an envelope to find this quirky and cute angel on the front? I know my mom will go crazy if I make this card for her because she loves anything angels. She has everything from jewelry to shirts to candles with angels on them at her house, so why not a card too?
Report Inappropriate Comment
Are you sure you would like to report this comment? It will be flagged for our moderators to take action.
Thank you for taking the time to improve the content on our site.