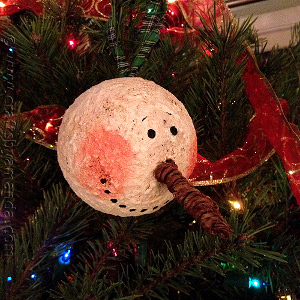
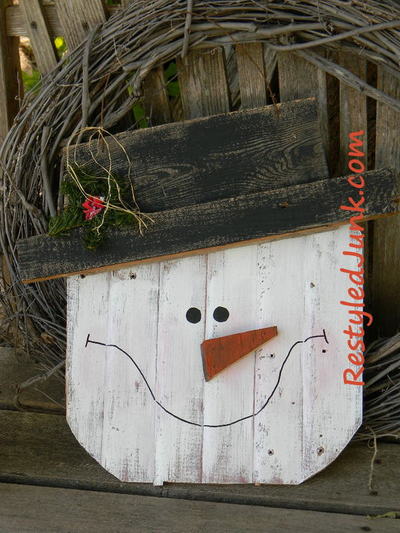
Rustic Wood Snowman Head

Add a bit of jolly to your door or outdoor space with a wood Christmas snowman. This happy Frosty is made using bits and pieces from your scrap pile, and the decoration is so shabby chic. This Rustic Wood Snowman Head won't take long to make and you will bust your scrap pile in the process. This is one of those snowman craft ideas that can be passed down as an heirloom winter decoration for years to come. Leave it out all season long and then store it for next winter.
BONUS! Free Printable Christmas Poster
Show your love for DIY Christmas crafts and the season itself with this delightful free printable poster. Hang it on a wall, in your cubicle at work, or on your refrigerator - it'll always make you smile.
Get your free Christmas poster now!

Materials List
- Scrap wood - 2-1/2 inch and 5-1/2 inch wide
- Jigsaw or chop saw
- Measuring tape
- Wood glue
- Wood screws
- Brad nails
- Hammer
- White acrylic latex paint
- Paintbrush
- Black acrylic latex paint
- Pink acrylic craft paint
- Orange acrylic craft paint
- 1/2 inch dowel
- Black paint pen
- Drill and 3/32 inch bit
- Baling wire
- Baling wire
- Wire cutters
- Decorative pine or Christmas floral pick
Instructions
-
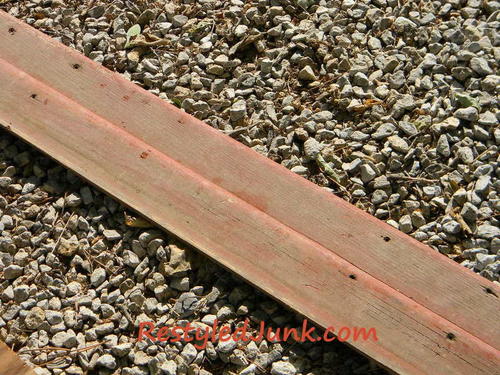
Cut three 16 inch lengths from 5-1/2-inch wide wood siding or scrap wood using a jigsaw or chop saw. These are your head pieces. Cut two 12 inch lengths from 2-1/2-inch wide scrap wood for the back braces.
-
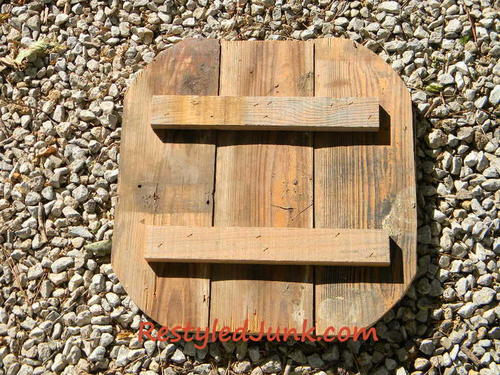
Lay the head pieces on your work surfaces with the desired right side facing down. Place the long edges together and align the short ends even with each other. Place the braces on the back of the head pieces, across their widths. Evenly space the ends of the braces from the edge of the head shape.
-
Apply wood glue between the braces and the head. Attach the braces using wood screws or brad nails. Note: Make sure your screws or nails are not so long that they poke through to the front of the head.
-
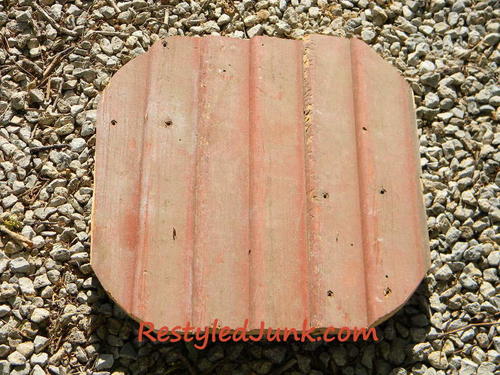
Using a jigsaw, curve each corner of the head to shape.
-
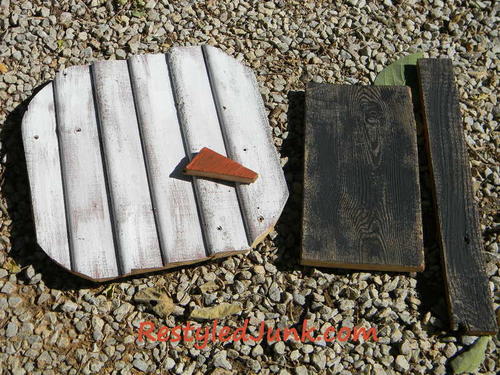
Dry brush the front of the head using white acrylic latex paint. Do not paint the edges or the back. Allow the paint to dry.
-
Cut a 13-1/2-inch length from 5-1/2-inch wide scrap wood. This is the hat top. Cut a 20-inch length from 2-1/2-inch wide scrap wood. This is the hat brim. Dry brush the chosen front of each piece using black acrylic latex paint.
-
Lay the hat top on the front side of snowman head with the front of the hat facing up. Center the hat at the top with the left, bottom corner of the hat 4 inches below the head's top edge and the right, bottom corner 2 inches below the head's top edge. Apply wood glue between the hat and the head. Securely attach the hat using brad nails.
-
Place the hat brim over the bottom edge of the hat top with the front side facing up. Align the long bottom edge of the brim with the bottom edge of the hat. Extend an even amount of the brim from both side edges of the hat. Apply wood glue between the brim and the hat. Securely attach the brim using brad nails.
-
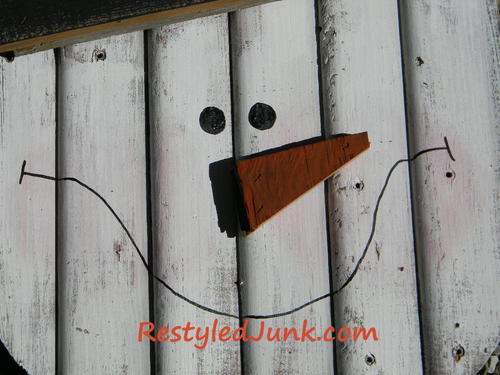
Using a stencil brush, lightly pounce two large cheeks on the face using pink acrylic craft paint.
-
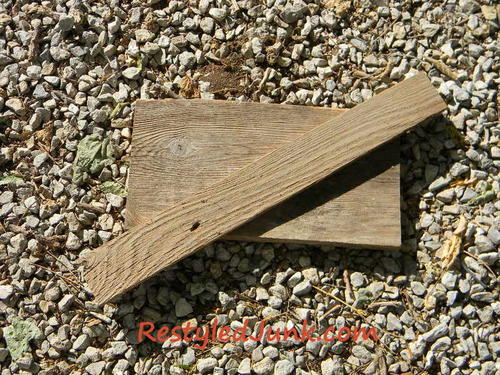
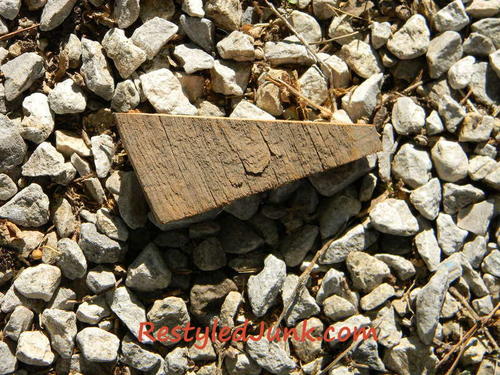
Using a chop saw or jig saw, cut a triangle from scrap wood that has a base approximately 1-inch wide and is approximately 4 inches tall. This is the snowman's nose. Dry brush one side of the nose using orange acrylic paint. Allow the paint to dry. Center the nose on the face. Apply wood glue between the nose and the face. Securely attach the nose using brad nails.
-
Dip one end of a 1/2 inch dowel in black acrylic paint. Dot two eyes above the nose. Draw a large smile on the face using a black paint marker. Allow the paint to dry.
-
Attach decorative pine or a Christmas floral pick to the hat brim using craft glue and brad nails.
-
Measure down 1-inch from the top edge of the hat and 3 inches in from each side edge. Mark the measurement with a pencil. Using a 3/32-inch drill bit, drill a hole through each mark. Cut a 24-inch length from rusty baling wire using wire cutters. This is your hanger. Insert the ends of the wire through the holes and twist to secure using needle nose pliers.
Free Christmas Craft Video: How to Make a Painted Snowman Cork Ornament
Are snowmen better than angels? Let us know by voting on Most Popular Christmas Crafts: Snowmen vs Angels!
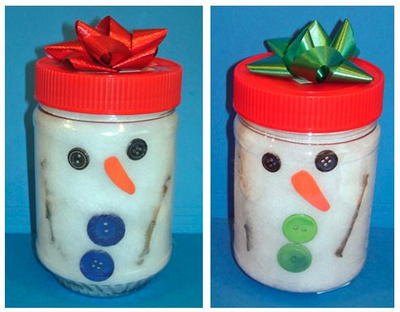
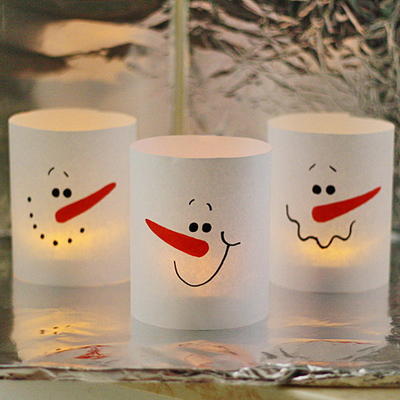
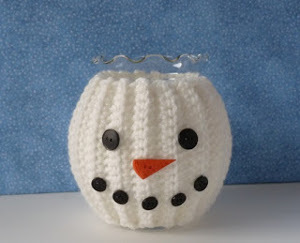
Read NextCrochet Snowman Jar Cozy
Your Recently Viewed Projects
Thanks for your comment. Don't forget to share!
Cheryl Y
Dec 01, 2017
Oh I love this Rustic Wood Snowman Head. It reminds me of my Grandparents county home at Christmas. Grandpa had something like this on his front door. The pattern for this is easy to follow, and I was thinking while reading it that you could even do this with pop sickle sticks. I'll be making this one and hope the Grandkids would like to do it too. Thank you for sharing this free craft project.
Cheryl E
Nov 27, 2017
This shabby chic smiling snowman is charming for the winter holidays. Snowmen are very easy to craft out of repurposed pallets and small amounts of paint. When finished, this one is easily added to a grapevine wreath for a great door decoration or even to prop next to a fireplace or over a mantel.
sue is not very Cr afty
Sep 27, 2017
We think there is a missing step. We think that there are 2 head pieces, one using 5 1/2" wide wood and one using 2 1/2" wood, and they are each glued to the braces. Is this right? Thanks!
Editor Dana
Sep 29, 2017
Hi there! It looks like the head is made only with the 5 1/2" wood, and the 2 1/2" pieces are used just at the back to "brace" the sign. I see what you mean, though! The photos look as though there is a layer of the 2 1/2" wood to make up the face. I'd say feel free to proceed just with the written instructions and have the face made of the three 5 1/2" slats of wood, but if you like the look of the thinner wood pieces better, try that instead, with just one layer! I hope that helps. Please let me know if I can help with anything else!
sue is not very Cr afty
Sep 29, 2017
Thanks for your quick answer. It's very helpful. My husband is halfway through making it and I can hardly wait to start my portion of the work. It's a great project!
autolycus10 297191 5
Mar 09, 2016
I can't get the instructions to print out! HELP! I do so want to make this. Gave it fie stars cause it's too adorable, but I'll come back and give a fair rating once I can get the instructions!
KLC
Mar 10, 2016
Hi, I am sorry about the missing print button. The button is now under the project name, by the "notes," "save project," and "comment" buttons. Once you click that, a print screen should open. Please let us know if you are still having trouble. Thanks! -Krista, Editor, AllFreeChristmasCrafts
Report Inappropriate Comment
Are you sure you would like to report this comment? It will be flagged for our moderators to take action.
Thank you for taking the time to improve the content on our site.