Christmas Mini Album Cover
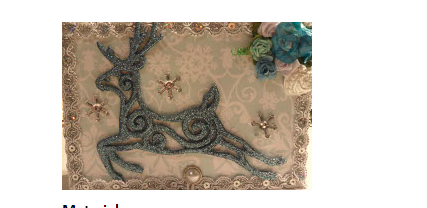
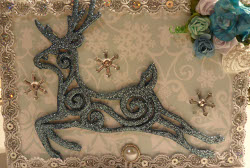
Say goodbye to boring Christmas scrapbooks! Before you give your homemade keepsake this year, create a Christmas Mini Album Cover that is just as special as what's between the pages. Use scrapbook paper, paint, and more to make your piece special. This beautiful handmade Christmas photo book features a glittery reindeer on the front, as well as a host of other eye-catching embellishments. Feel free to decorate the front cover however you desire to reflect your own personality. Once you fill this easy Christmas paper craft, it will be a treasured way to store your most prized pictures of loved ones.
Materials:
- Chipboard
- Glue gun
- 5” wide piece of 7” lace/fabric
- Scor tape or red line tape
- Double sided adhesive
- 12”x12” scrapbook paper
- White acrylic paint
- Paint brush
Instructions:
- Measure your mini album from part 1. You will need measurements of length and width.
- Add 1/2” to each measurement.
- Cut two pieces of chipboard with calculated measurements.
- Cut two pieces of scrapbook paper using the same measurements.
- Paint 1” all around chipboard pieces, front and back. Let dry.
- Place two strips of score tape along one of the length sides of each chipboard piece.
- Place double sided tape along the other three sides and middle of chipboard.
- Align bound edge of mini book to the glued side of chipboard. Edges should be flush.
- Repeat for second chipboard piece.
- Using hot glue, adhere lace to chipboard, binding, and to back of chipboard.
- Lastly, cover chipboard pieces with scrapbook paper pieces. Use a combination of hot glue on lace, and double sided adhesive for paper.
- Decorate front cover as desired.
How to Make a Christmas Mini Album Cover:
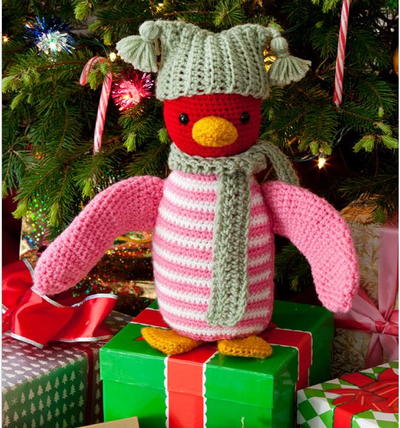
Read NextHuggable Penguin Crochet Pattern

