This project was submitted by one of our readers, just like you.
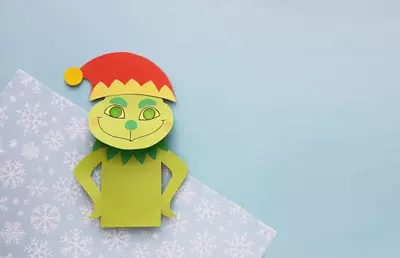
Elf Paper Bag Puppet

Elf Paper Bag Puppet
"With the holidays approaching, get into the holiday spirit and craft this Elf Paper Bag Puppet! It's adorable and so simple to make. All you'll need is construction paper, sharpies, craft glue, pencil, and scissors. Don't worry if you don't have a paper bag. You can make a customized one using brown construction paper! Let your kids customize their own elf to make it even more special! Have them choose the colors for construction paper, decorate it with markers, or add things like pom moms and sequins!"
Primary TechniquePaper Crafts

Materials List
- Construction papers
- Sharpies
- Craft glue
- Pencil
- Scissors
Instructions
-
First you’re going to start by choosing the colors of your construction paper. Select light pink, dark pink, brown, green, red, yellow, and black sheets. Now that you have chosen your colors you can begin tracing. Trace the head and main ear patterns on the light pink paper. Then trace the nose and inner ear cutouts on the darker shade of pink paper. Next, you will trace the hair on your brown sheet. Then trace the belt on the black construction paper. Trace the belt buckle, collar pom poms (the small round shapes), hat pom pom, and hat trim on the yellow paper. Outline the shape of the collar and the hat on the red paper. Finally, trace the outfit on the green paper. You can cut out and use the eyes directly from the template.
-
Grab your glue and begin putting the pieces together. Start by gluing the inner ear cutouts on the main ear cutout. Then glue the yellow pom poms on the pointy parts of the red collar cutout. Next, glue the hair cutout on the top side of the head cutout.
-
Glue the eye cutouts onto the face. Then attach the ear patterns on both sides of the elf’s head.
-
You will finish the face by gluing the nose onto the head. Then you will use a sharpie to draw the mouth and trace the eye outlines to make them pop.
-
Next build the belt by cutting a slit on the yellow marked lines (found on the original template) of the buckle pattern and inserting the belt strip through it. Make sure to place the buckle in the middle of the strip. Glue the belt along the middle of the green outfit (rectangle shape). Finally, glue the red collar on the top side of the outfit, near the elf’s neck.
-
Grab your paper bag. If you do not have a paper bag, you can make a customized one using brown paper. The bottom side of the bag will be the top side of the elf puppet. Glue the outfit on the front side of the paper bag, keeping the collar towards the bottom side of the bag. Make sure to crease the bottom flap with the flap facing the elf’s outfit.
-
Next, you will glue the head on the flap.
-
Create the elf’s hat by gluing the pom pom to the tip of the hat. Then glue the hat trim to the base of the hat.
-
Finally, attach the hat to your elf’s head to complete your Elf Paper Bag Puppet.

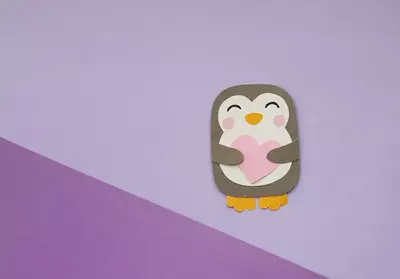
Read NextPenguin With Heart Craft