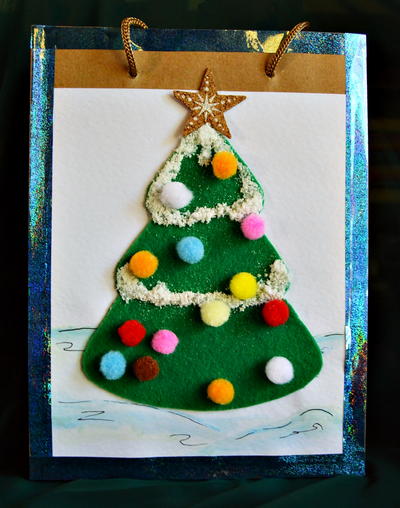
Snow-Covered Tree Gift Bag Idea

Who needs a boring, dull gift bag when you can have a bag like this? This Snow-Covered Tree Gift Bag Idea will add some extra fun to your gifting. This DIY gift bag is easy enough for older children to make on their own, and the young ones can join in the fun with some help from mom, dad, or an older sibling. A fun way to build some pre-Christmas excitement as well as provide creative gift wrapping for all of your smaller presents or baked goods.
Estimated CostUnder $10
Time to CompleteIn an evening
Primary TechniqueGeneral Crafts

Materials List
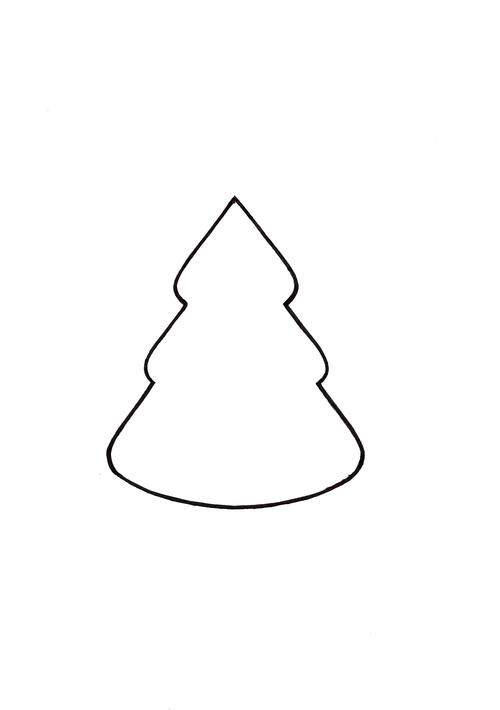
- Printout of the provided pattern sheet (shown below)
- 7.7" x 5.7" brown paper bag with rope handles
- 6.4" x 5.2" white textured cardstock
- 6.4" x 5.2" green felt
- 14 assorted color 10mm pom-poms
- Star-shaped cork sticker
- 10mm-wide light blue washi tape
- Epsom salt
- Set of the 24 Marco Raffine Aquablend watercolor pencils
- Artline black extra fine pen
- Paintbrush
- Scissors
- Pencil
- Ruler
- White chalk pencil
- Quick-drying craft glue (such as Bostik Clear)
- Pritt liquid glue (for adding the "snow")
- Small plastic bowl with water
Instructions:
-
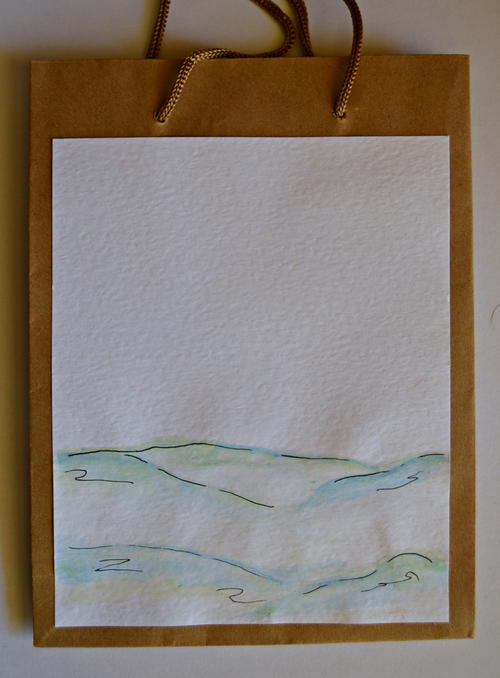
At the bottom of the white cardstock, use the pencil to lightly draw a horizon. Use the white and light blue watercolor pencils to draw a few lines below the horizon line. With a slightly wet paintbrush, soften the lines to create the effect of snow-covered ground. Allow to dry thoroughly, then use the black pen and draw some broken lines to complete the effect.
-
Glue the white cardstock to the one side of the bag. Make sure that you spread a lot of glue over the area where you applied the wet paintbrush so that the cardstock will not be wrinkly once glued.
-
Cut the tree from the pattern sheet and place it on the green felt. Use the chalk pencil to trace around the outline to transfer the pattern of the tree to the felt. Cut out the felt tree and turn it over, so that the chalk markings will no longer be visible. Glue the tree to the bag.
-
Now add snow to the tree. Spread Pritt liquid glue on some areas of the tree, and immediately add Epsom salt to the wet glue. Allow to dry, and then shake off the excess salt.
-
Glue the pom-poms in random places on the tree - these will be the Christmas lights.
-
Glue the cork star to the top of the tree.
-
Use the washi tape to add a border around the front of the bag, and cut off any protruding edges.
Read NextUpcycled Gift Box